Assignment 1 -Self Potrait Profile
- Josh Roberts

- Apr 29, 2019
- 6 min read
Updated: May 13, 2019
Assignment Brief :

Self -Portrait Worksheet :

Research:
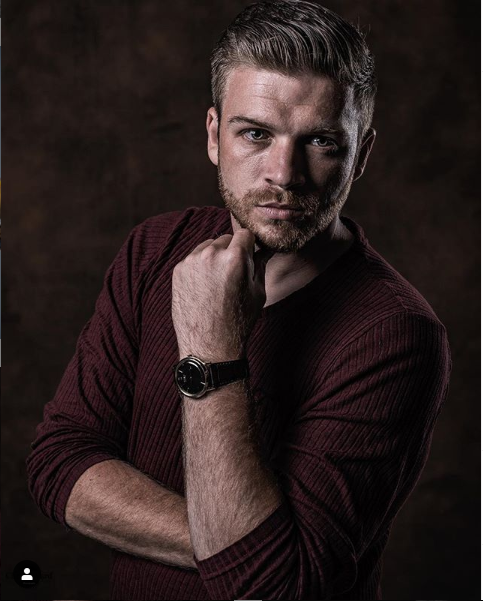
Before taking my shots or even starting the assignment i carried out research on a number of portrait photographers in order to gather inspiration and find out how to approach and achieve the shot which i had in mind ,i came across many different photographers who displayed many different photography styles to show personality and other visual aspects that i found valuable and which helped to shape and influence my shot.
Chris J Ward Photography
I came across this photographer by chance and was very impressed with their work because even though it was very simplistic their picture range showed the different ways in which an image can portray a specific mood or feeling by sharpening it or adjusting the colours ,this photographer would take basic full frame shots and manipulate them in Photoshop to either sharpen the image or remove the colours depending on what he wanted the image to say and his captions would briefly describe the image and how the final outcome was achieved which gave the viewer a small insight into the process.


Briandoo
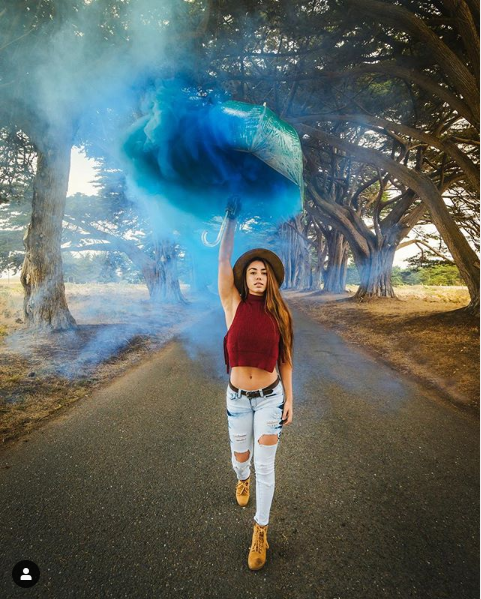
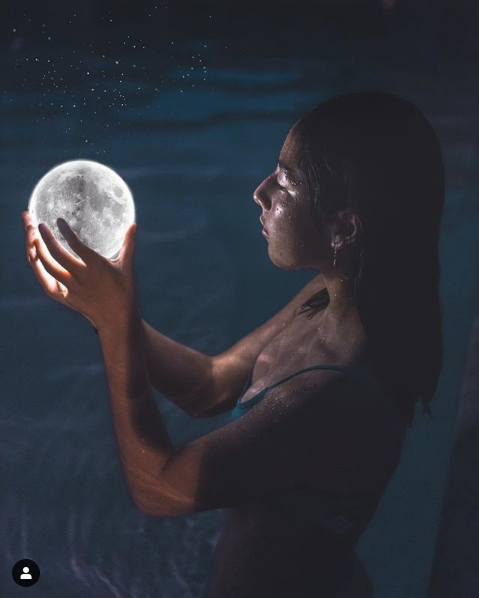
Brian is a travel photographer who travels the world taking pictures of different people and events which he then uses software such as Photoshop to manipulate the image and create surreal edits which bring fiction and reality together in a realistic way ,his portrait photos are usually full frame with the subject as the central focus .One of his signature shots is one in which the model holds an umbrella which he may use coloured smoke grenades in or edit different elements into the photo to make them enhanced and create the dreamy and fictional ambience which his fan base has grown to love and cant get enough of.


Frantisek Konopa
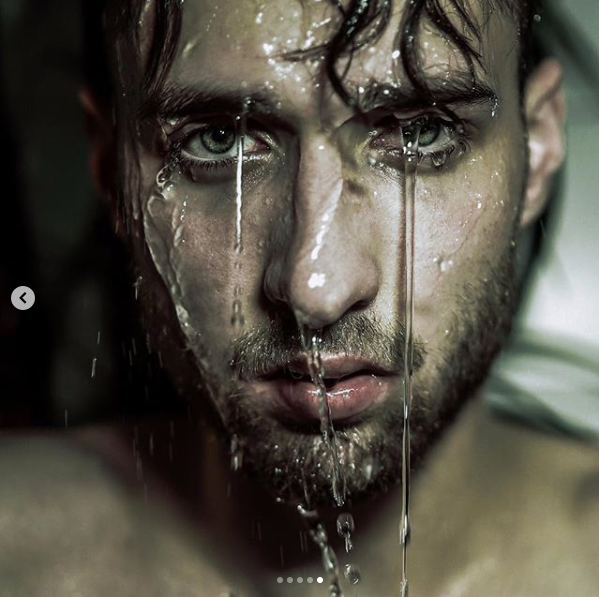
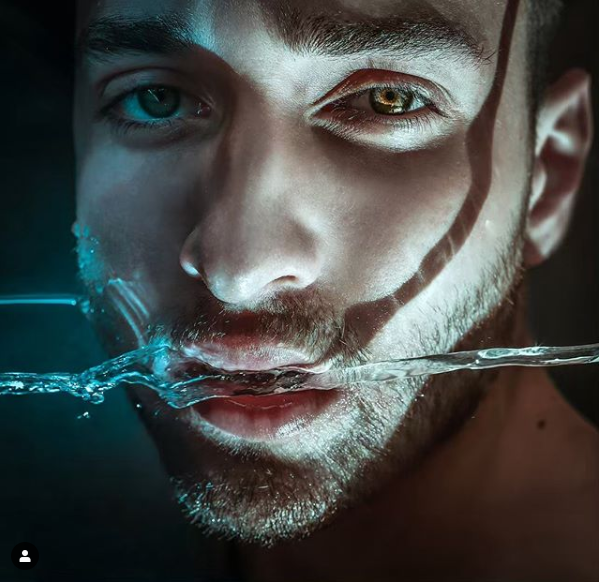
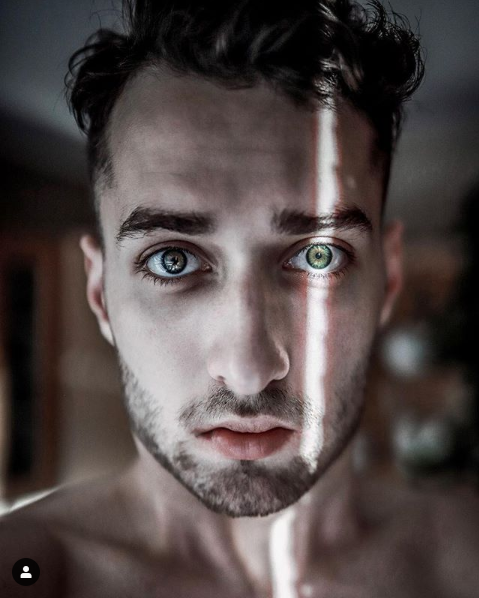
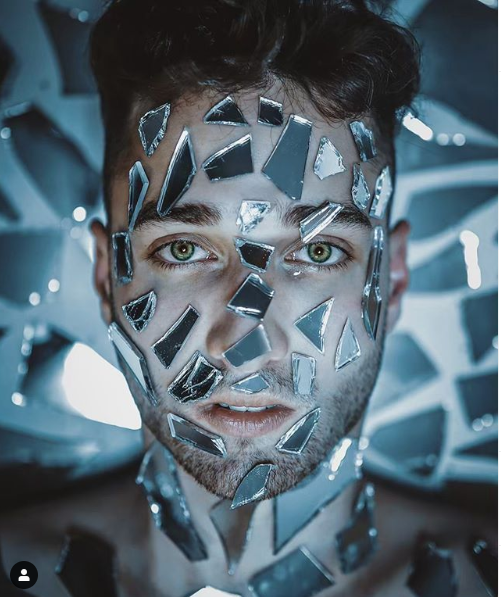
Frantisek is a Czech photographer and teacher , he emphasises that he is a visual storyteller and therefore captions his photographs with paragraphs explaining the photos and their significance. A lot of his photos are closeup shots of his face which he uses different lighting and props to show a series of effects and other interesting outcomes .Some of his pictures are in a specific order and usually tell a story or sets a scene which makes the viewer look forward to his posts , he enhances some of the images to display certain picture elements more or brighten some details to bring out emotions in the eyes of the model or to put forth a specific feeling .


Production Process:
When beginning this phase i had a very clear shot setup and outcome in mind ,because of the multiple examples of portraits and other pictures from photographers i viewed when researching i had gotten a clear understanding and idea of the picture i wanted to create and a good idea in mind of how to achieve it ,because the photographers that i liked the most used simplistic shots in which they were able to show and portray the feeling and idea behind the image i also decided to take a similar shot after being inspired by these photographers.
I also wanted to take a simple shot in which i would look directly into the camera which would be on a timer .The camera would be framing my entire body which i intend to crop later ,the shot would be taken in my room against a plain background which would be one of the walls .
In order to express some of my personality i would do a series of actions and get as many photographs as possible and then choose one which i prefer , I would try to be as professional as possible in the taking and processing of the photograph by finding an appropriate setup and layout which will remain constant between all shots taken.
Behind The Scenes:
All pictures will be taken using my phone which is a samsung galaxy 8 that will be set manually .The rear camera which i would be using is a 12MP dual pixel and would be manually set to ISO 1250 ,shutter speed of 0.3 and the focus would be set to auto since the camera would be placed on a timer and placed on a tripod.
I would be using a ring light borrowed from another student on our course (Shoheb Naz Miah) in order to light the background and make it easier for the camera to focus and take a more detailed image which would help me portray my personality .
Settings :

Gear Used:


Setup:


Preliminary shots:
These are some of the preliminary shots in addition to a few experimental shots which were taken as i thought of different ideas and experimented with different environments,the majority of the images are very similar and showcase different feelings and stances in order to find the ideal image which would be used as my final portrait picture.


After looking through the multiple images i had taken i decided to choose the image below because it was framed properly and focused very well which helped the details to be visible and also the expression it captured which was one in which you could tell i was smiling by only seeing half of my face was one which i found interesting and which i liked even though it was very hard picking a single image which i would use as my final picture i found this one to be the most expressive and appealing one.

Editing Process:
When editing pictures i tend to heavily edit photos which can change them completely however with this image i wanted to retain and keep the image as close to the original as possible .I usually use Photoshop and Lightroom for editing however for the purpose which i wanted i found Photoshop express to be a more liable and efficient option therefore that is the option which i went with because it had the aspects of both in one package .
Lightroom is a powerful software which has many different functions and features centred mainly towards the photo enhancing side such as the colouring and other picture elements while Photoshop has the options of adding and removing aspects of the photo but express combines these functionalities in one work space which is very minimalistic but effective in achieving both to the extent which i want.
I began by cropping the image to a size which i found was best and most appropriate for the purposes which it would be used such as set as profile pictures or posted on social media as they have size requirements.

I then began to adjust the tone of the image by adjusting a preset i made by moving the slider back and forth until i found a point in which the image appeared slightly darker to add some depth to the image and brighten the darker colours against the plain background.

After adjusting the tone i further adjusted the colours and brightened specific colours even further such as the camo on my jacket .

I then sharpened and dehazed the image to bring out details which were not as defined such as my eyes ,eyelashes and hair in addition to further tuning the general preset colour scheme so that i wont look as orange and smooth to the point where it looked fake.

I then zoomed the image in and removed any major blemishes and also further adjusted the sharpness of the photograph. By using the different sliders and the healing brush i was able to clear all blemishes and make the edited image still retain its natural look.

The before and after of the image .


Edited images :
Below are some variations of the edited images and a collection of images which i would use alongside my main image depending on backgrounds and covers of pages or the social medias which they will be used on ,these were selected from the images shown before and have all been edited in some way using the software spoken about before.


Final Portrait :
This is my final image of my self portrait and a google drive link to it:
https://drive.google.com/file/d/1cgyoN16WuR1k87NogMIT8VzgJQf5uTA5/view?usp=sharing

Mock ups :


Evaluation:
In conclusion i think that the blog contains a clear and well outlined step by step as to what was done and how the result was approached and arrived at ,there weren't too many problems encountered throughout the process however better equipment could have been used and a more professional editing style to make the image even more detailed and also to make it a higher standard in general .
If i was to do this assignment again i would try to secure a good camera and better kit to use for the duration it will be completed and in addition to that i will try to learn more editing skills and become more accustomed to editing software so that the result would be of the highest quality .In addition to that i will try to carry out the process in a more professional way .
The process itself went smoothly and everything was completed in a very flexible time frame which left me enough time to make small tweaks and adjustments as time went by and i got better at editing therefore making me refine my final artefacts from time to time.
In the future i would like to take a portrait picture which would be able to show more of my personality and be even more expressive because it is very difficult to create a highly sophisticated portrait picture with the resources i have and some day in the future i plan to improve on this image.


Comments